The GardenZeus Guide to Saving Tomato Seeds
Saving seeds from a delicious heirloom or favorite open-pollinated tomato is simple, and can provide you with more than enough seeds to plant next year, as well as plenty to share with your friends. Although tomatoes are generally self-pollinating, they do occasionally cross-pollinate, and genetic traits may vary from seed to seed and fruit to fruit. It may be important to save seeds from the earliest, largest, and best tomato fruits harvested from the healthiest and most-vigorous tomato plants. Allow the fruit to ripen fully on the plant before harvesting.
GardenZeus expert Darren Butler recommends tasting any tomato from which you plan to save seeds, and do so with pride, as you are furthering a long and honorable agricultural and gardening tradition by personally vetting fruit from which seeds are saved. If a tomato lacks flavor or does not seem an exceptional example of the variety, let its genetic line end by enjoying it in salad or on a sandwich. Yes, this does mean that you will sacrifice the pleasure of eating some of your largest, best, and most delicious tomatoes, but it is for a noble cause, and may result in the chance to enjoy dozens of equally desirable and delicious tomatoes next season in your garden. It may even result in thousands of tomato plants being grown by yourself and others over years and decades with the same traits as the plant that produced your sacrificed fruit.
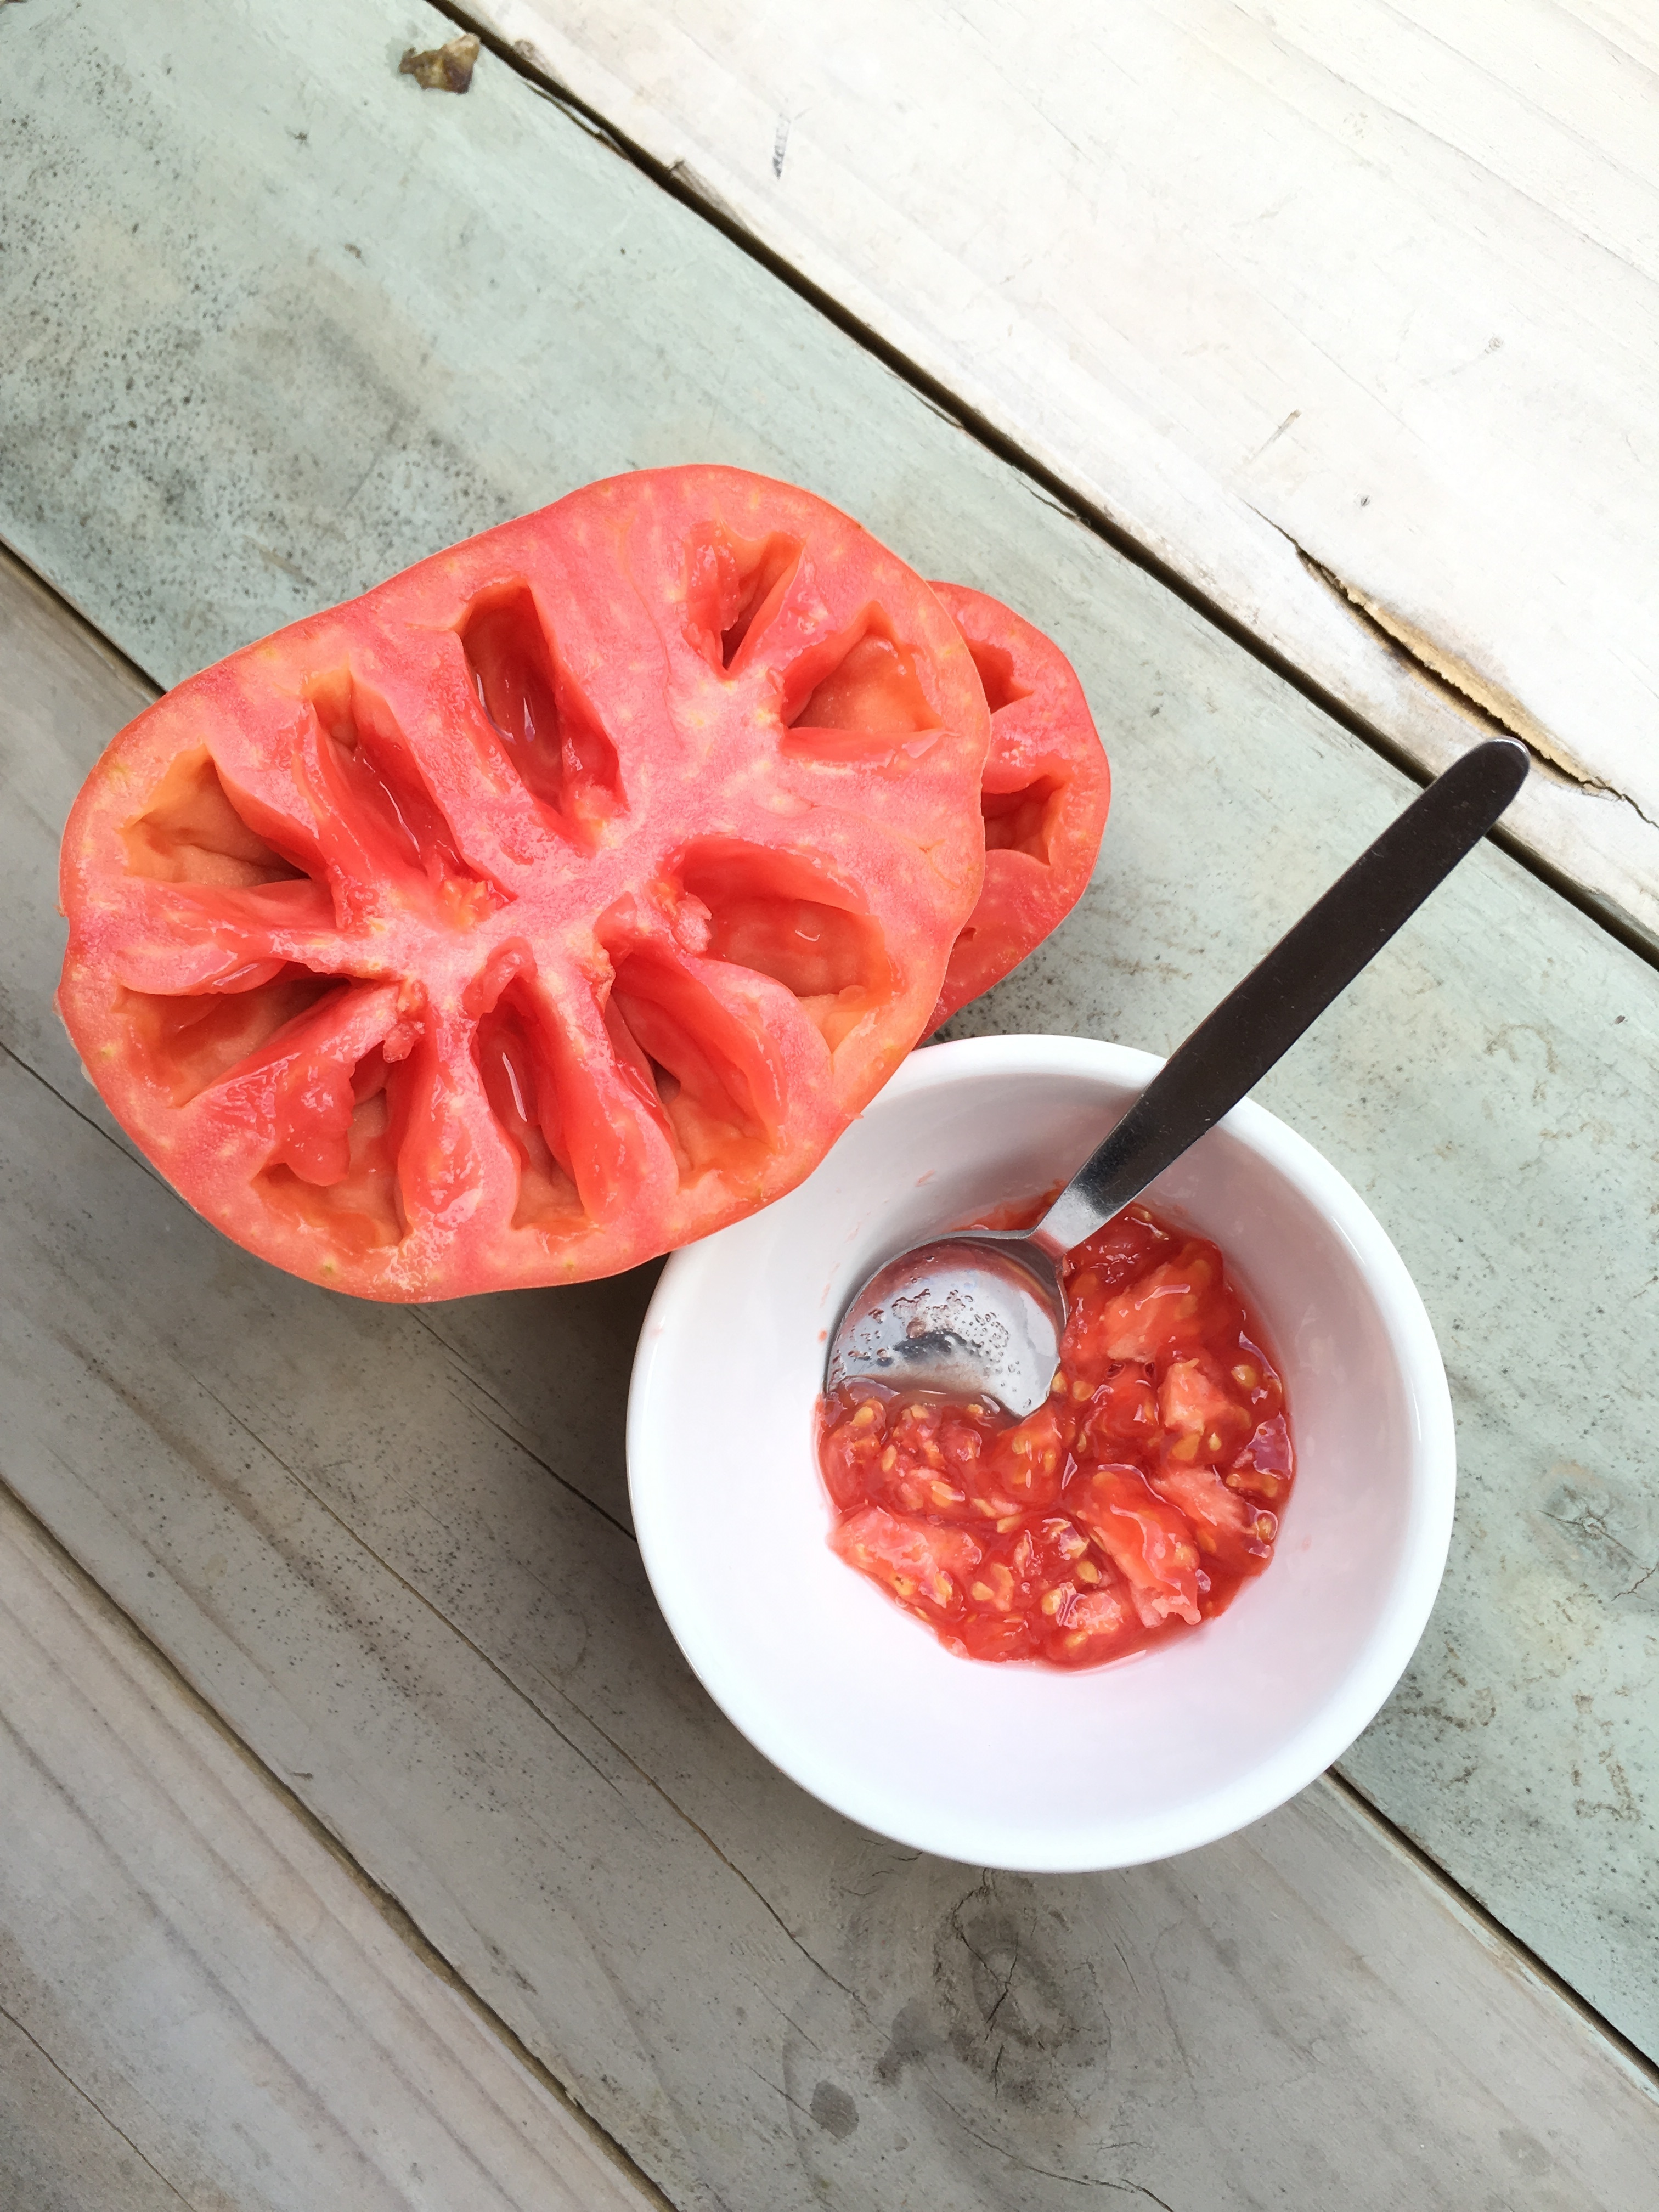
Scoop or squeeze seeds into a jar from the locules or seed cavities in the tomato fruit. Add water to the jar until 2/3 full, and then lightly cover or close the jar with mesh or with a loose lid to allow air circulation. Keep the jar at room temperature and out of the sun. Over the next few days, the tomato-seed mixture will ferment, and develop mold on top. This process of fermentation breaks down the anti-sprouting inhibitor enzyme on the seeds that prevents germination inside the wet tomato fruit. Viable seeds should sink to the bottom of the jar. After a few days, pour off the mold and muck floating at the top of the jar and rinse with fresh water or clean the seeds in a strainer. Allow seeds to fully dry, which may take several weeks, before storing.
If you wait too long or the jar is exposed to heat, seeds may begin to sprout. Once sprouted, seeds cannot be saved; if sprouts can be removed intact and without damage from the jar, they can be planted immediately.